Switch power from wall on to the plug labeled "Microscope Devices"
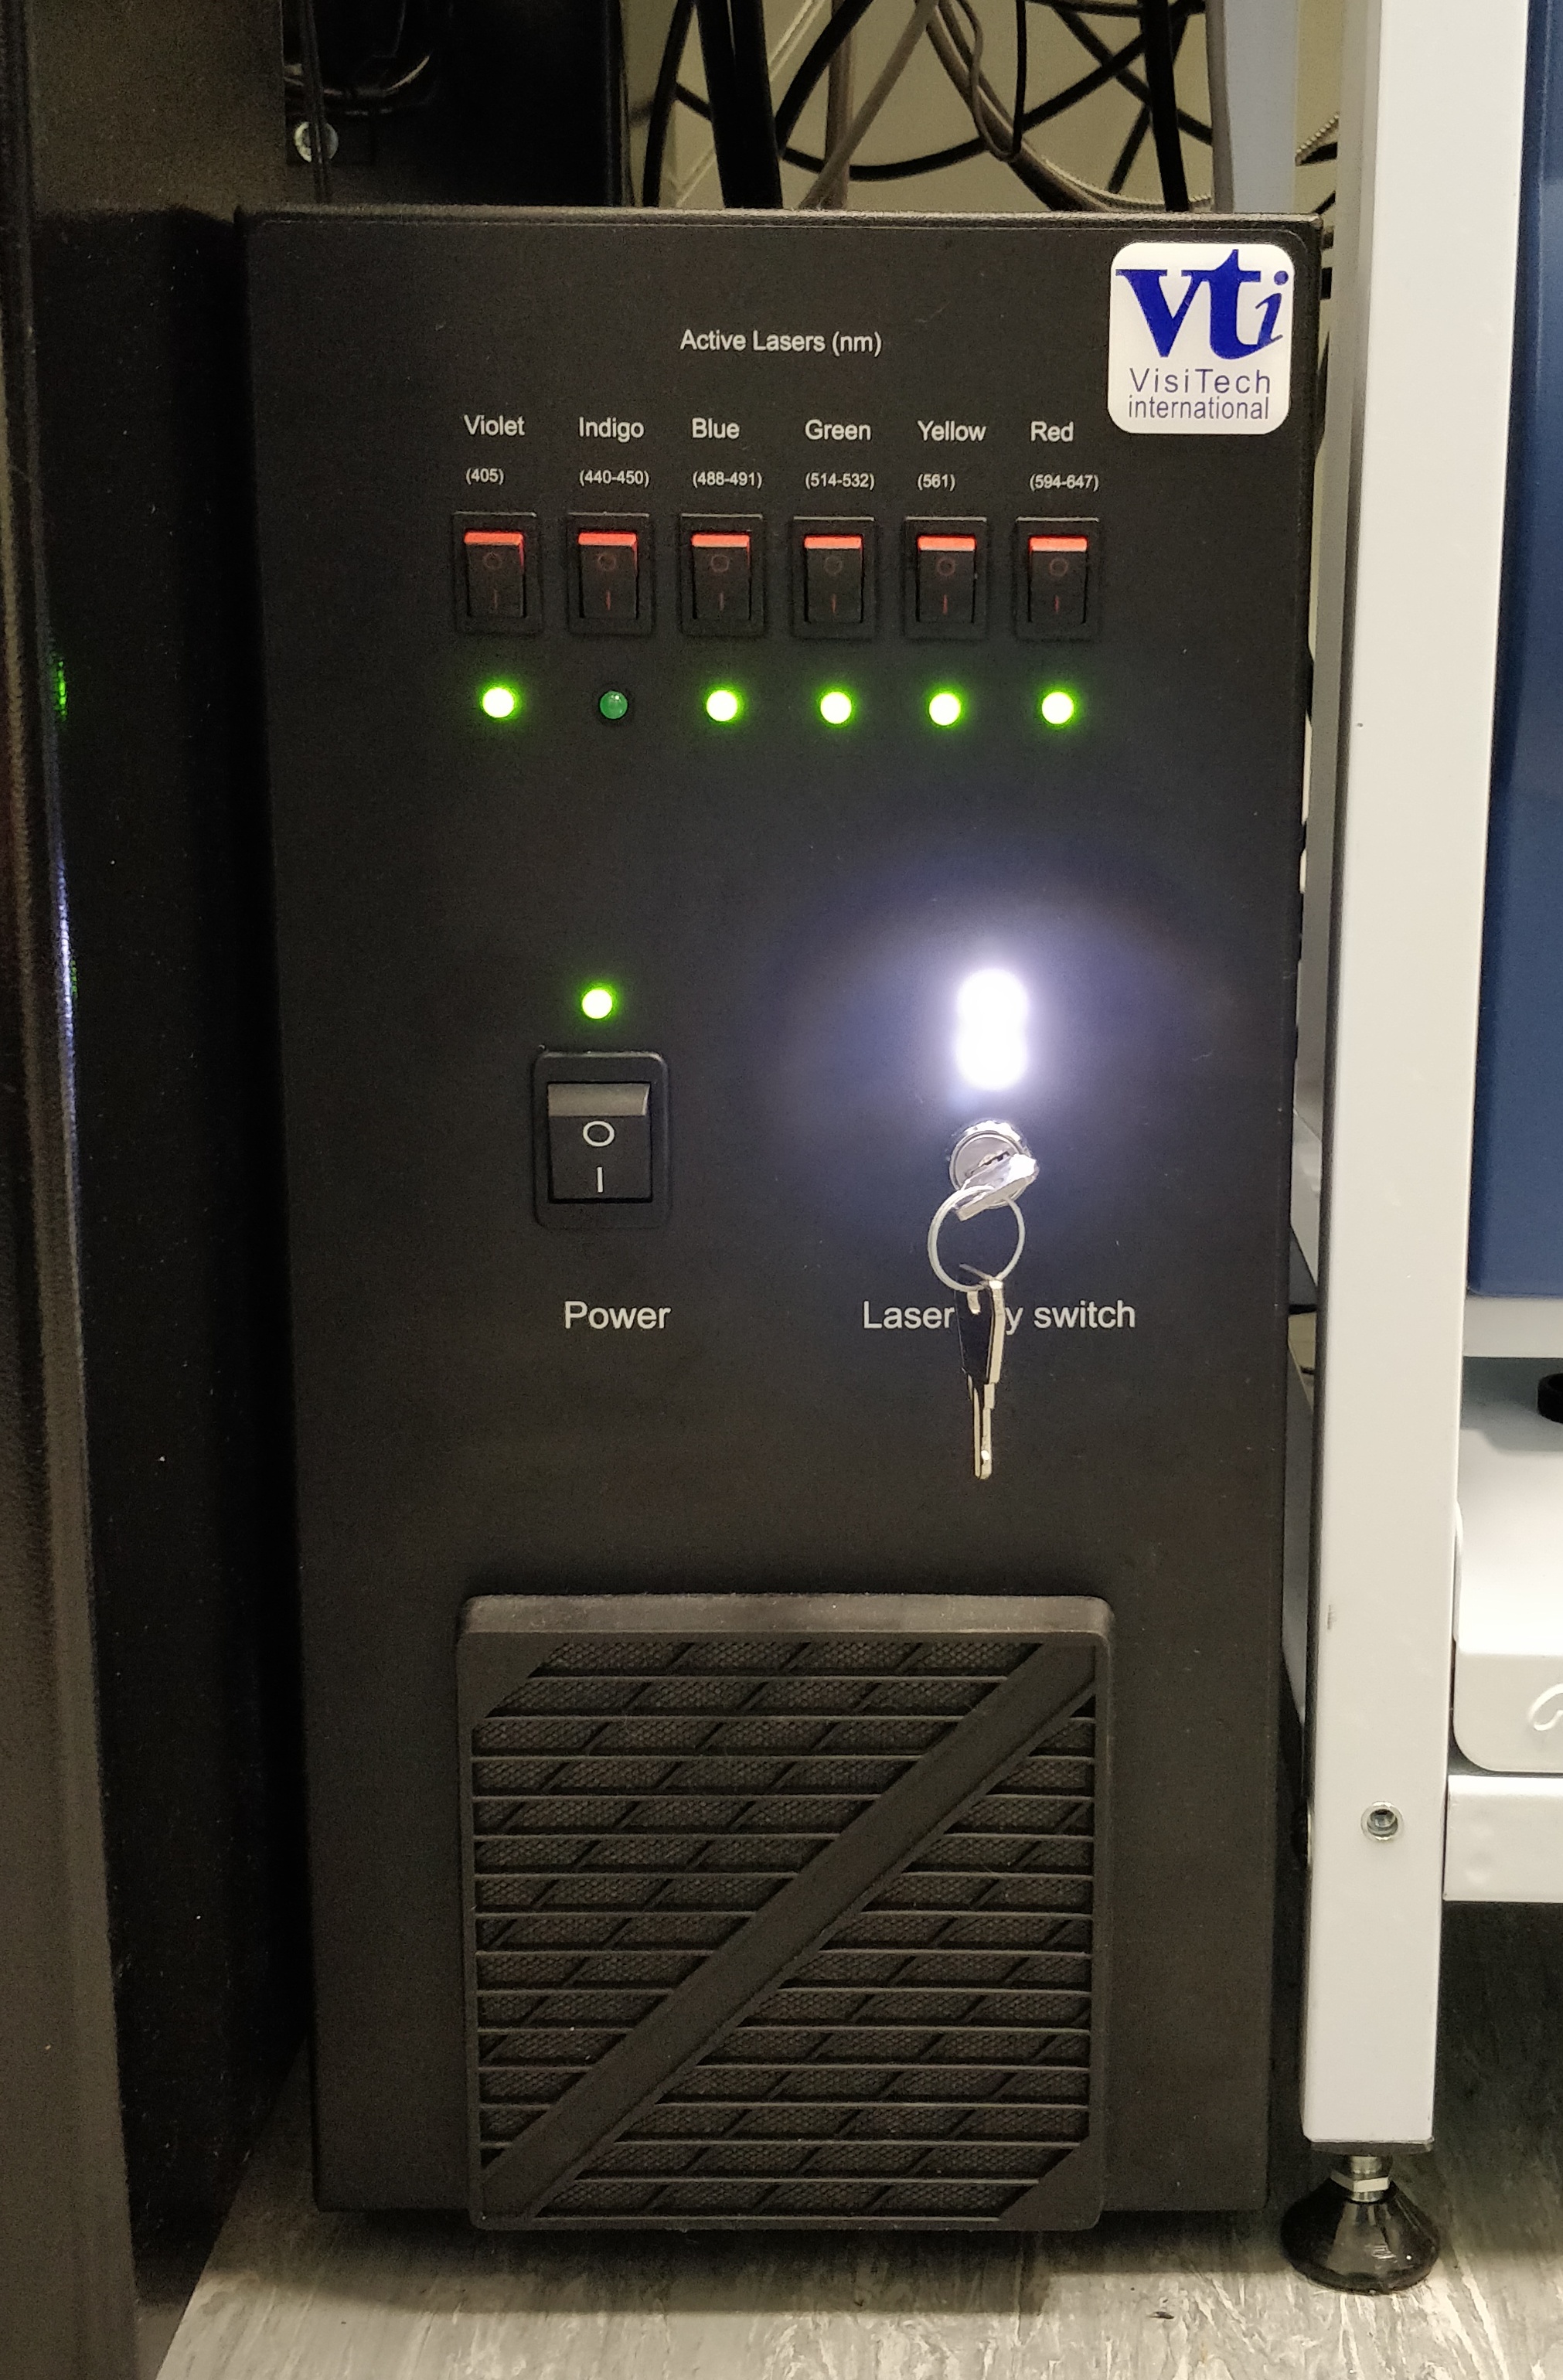
Check that the switches on the vt-ism box (between the Thorlabs table and the incubator) are in the 'on' position. Turn the key to 2 o'clock.
Turn on computer
Log into windows using your email address and agendo password
Start NiS-Elements.
When prompted, enable multi-camera and select Hamamatsu as your second camera
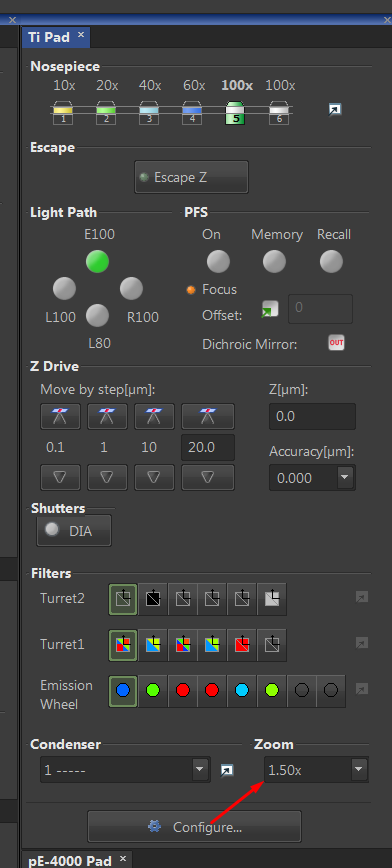
vt-iSim should ideally be used with a 100x, with or without the 1.5x optovar. If using the 1.5x optovar, remember to let the software know.
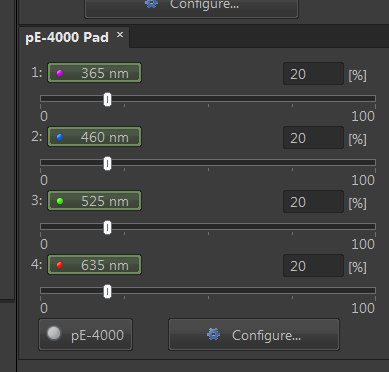
Focus on your cells or tissue using the pe-4000 controller and the 'To Eyes' optical configuration panel
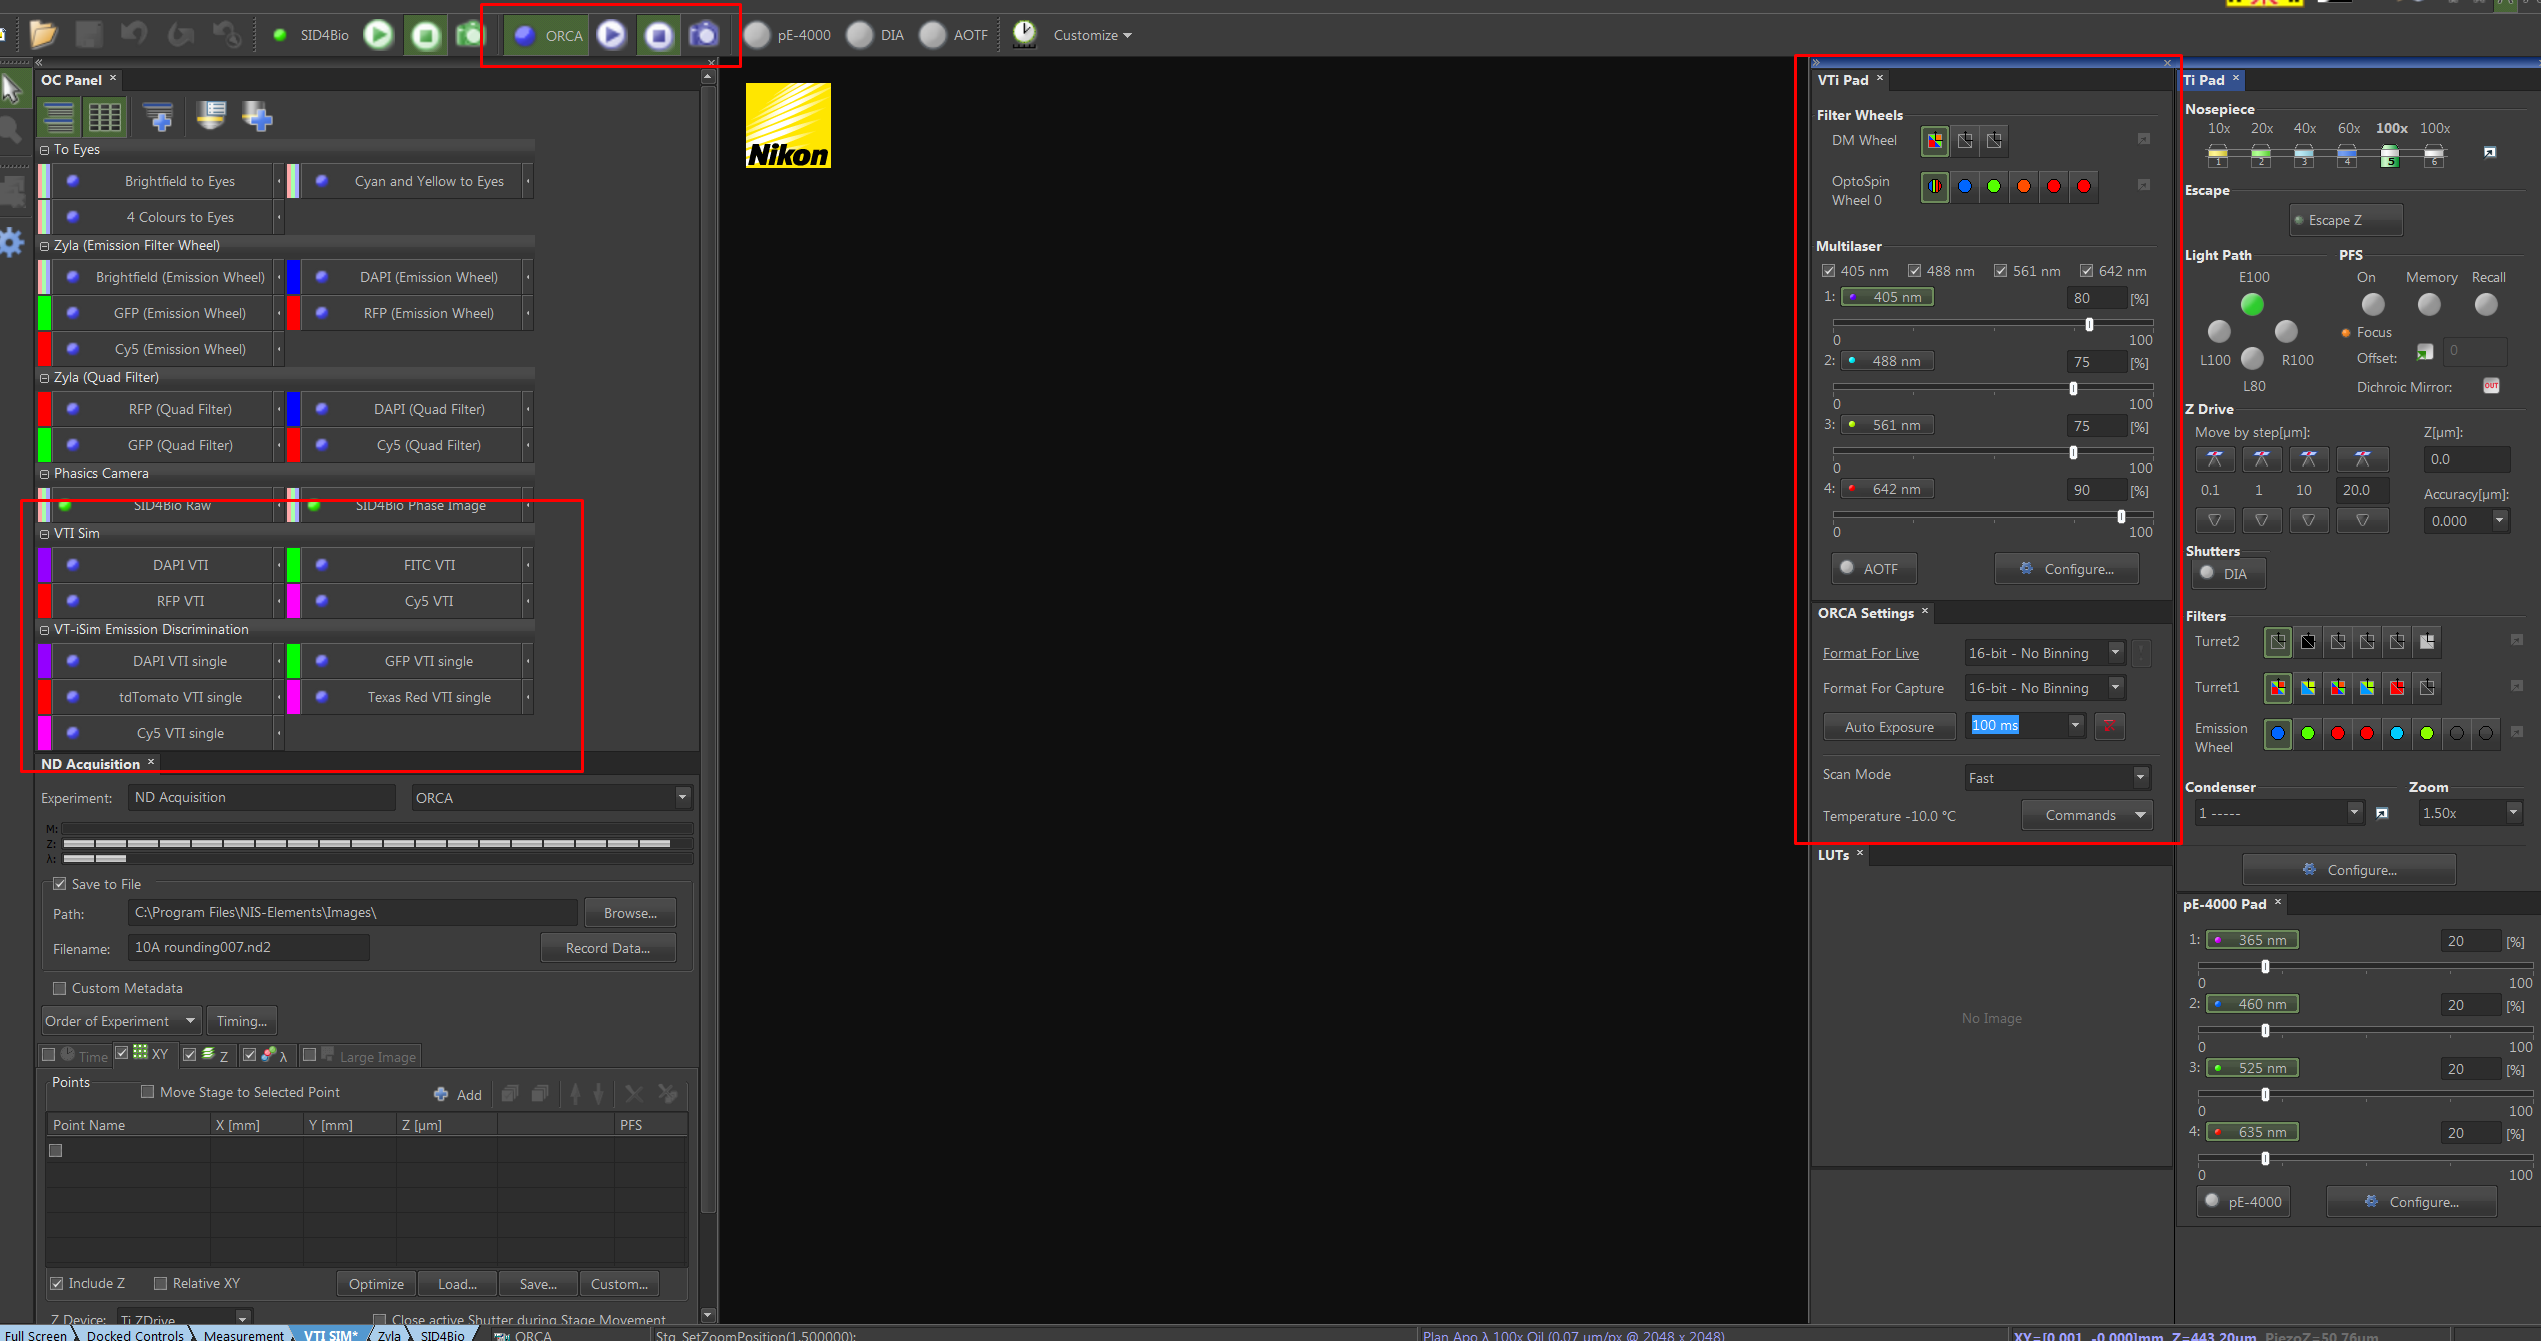
Use the vt-iSIM optical configurations on the left to select your laser and emission filters. The microscope is equipped with a quad band emission filter, and 5 single bandpass emission filters for emmission discrimination. They can be selected under OptoSpin Wheel 0 or along with a laser using the Emission Discirmination optical configuration panel. Exposure times can be changed via the Orca Settings panel, and laser powers via the VTi Pad panel.
If the above are not visible, check that you have the correct layout selected
You can set up z-stacking and timelapse as usual with the ND Acquisition panel. More information for this can be find in the Quck Start Zyla page.
Switching off
Log off and shut down the computer
Turn the key back to the off (12 o'clock) position