Zeiss ELYRA PS.1 - Quick Start Instructions
Hardware
- Switch on the two sockets on the wall (on the right hand side of the microscope) labelled SYSTEM (turns on the PC) and COMPONENTS (turns on the microscope and its components including the laser bed).
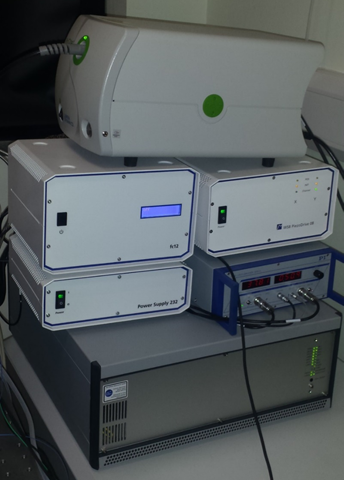
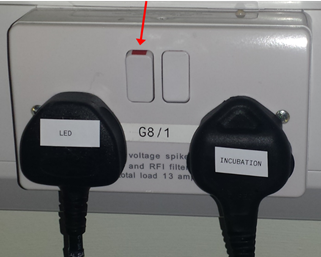
- Now switch on the sockets on the wall behind the microscope labelled LED (turns on X-Cite light source for eyepiece illumination). (NOTE: The second switch labelled INCUBATION is used to turn on the incubation equipment; only switch this on if the incubation chamber is needed.).
- Switch on the PC.
- Logon as User (preferably) or LSM user (Admin account) – no password required.
Software
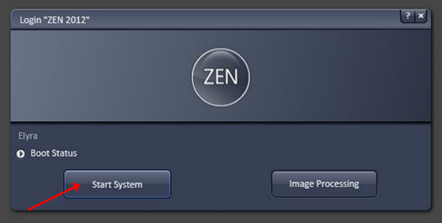
- Double-click on the ZEN icon on the desktop to start the Zeiss ZEN Black software.

- A login window will pop-up. Select Start System to boot acquisition software (If you select Image Processing you will be able to analyse previously recorded data sets, but not to acquire any new data.).


- Go to the Acquisition tab and in there to the Laser menu, turn on the lasers you need for experiment by selecting ON in the dropdown menu and allow them to warm up for min. 1 h for SIM or PALM imaging (available laser lines: 405, 488, 561 and 642 nm).
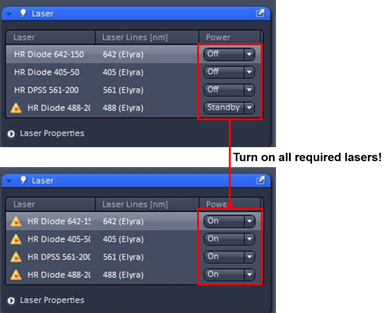
- When all required lasers have warmed up you are ready to put a specimen on the microscope!
Related articles