M03b - Uploading multiple files using zip
Keywords: unzip, compress, extract, zip, multiple files, folders, website, index page, set main file
What is it?
Zipping files and folders allows you to upload multiple files and folders (zipped together as a single file) to Moodle quickly, which you can then unzip in Moodle for students to access the individual files again.
Why use it?
It's faster than uploading files individually. However, you can also drag and drop multiple files to Moodle, so if you don't have that many files to upload, it is probably faster to drag and drop. See M03 - Links, files and folders .
Who can use it?
Staff can upload zipped files and folders to Moodle and then unzip them back to individual files.
Before I start...
Prepare your files by adding them to a folder structure that makes sense to you and your students - you might choose to split the files by topics or weeks or bundle together all the seminar documents or group activities in one place.
How do I zip my files?
Once your files and folders are ready to upload:
On Windows
- Select the topmost files and folders. You can either click and drag or hold down Ctrl as you click on each one.
- Once all the folders and files that you would like to zip into a single file are selected, right-click on one of the files or folders and choose Send To > Compressed (zipped) Folder.
How to Zip and unzip files on Windows 10. The first process (using right click Send To > Compressed (zipped) Folder) is the same for Windows 7 and 8 too. Please visit Microsoft support pages to find out more: https://support.microsoft.com/en-gb/help/4028088/windows-zip-and-unzip-files
On Mac:
- Select the top most files and folders. You can either click and drag or hold down Cmd as you click on each one.
- Once all the folders and files that you would like to zip into a single file are selected, right-click (or Ctrl + click) on one of the files or folders and select Compress items or Create Archive .
Please visit the Apple support pages to understand how to compress or uncompress files and folders on a Mac: https://support.apple.com/en-gb/guide/mac-help/mchlp2528/mac
3. You will now have a single file with a .zip extension that contains all of the folders and files you had selected in the previous steps.
4. Log into Moodle and follow the instructions in M03 - Links, files and folders to drag and drop (and unzip) or manually create a folder (and manually unzip) your files following the instructions below.
How do I unzip my files on Moodle?
Unless you unzip your files on Moodle, students won't be able to access each file individually.
- Once the zip file is uploaded to a folder (following the steps above), you need to click on the file, and a pop-up menu will appear:

- Click the Unzip button to extract the files from the zip.
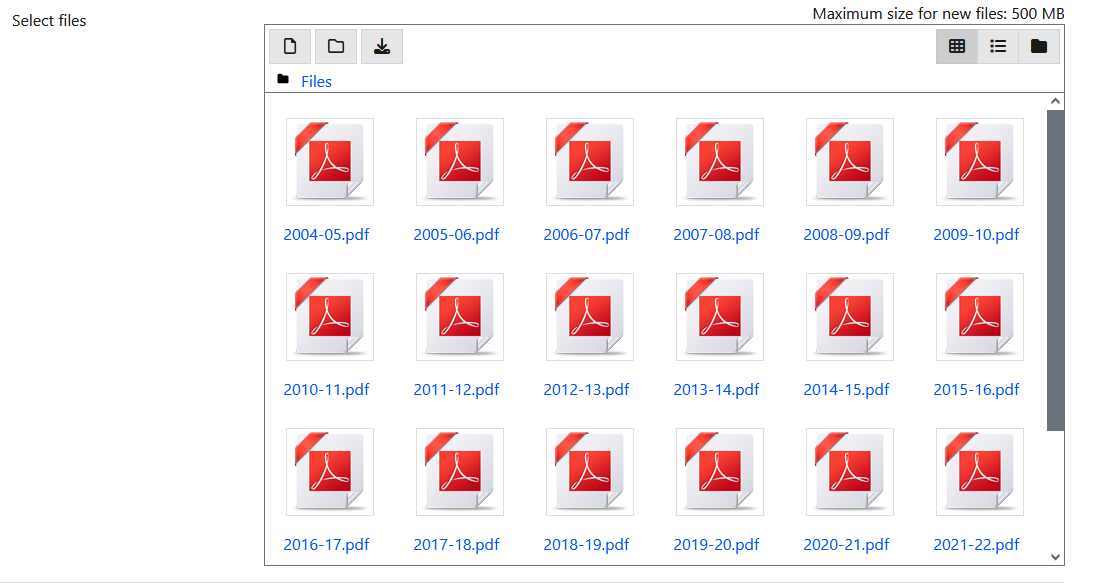
- The result is all the files will now be unzipped within the folder.
- Click 'Save and display' and your students will be able to see all the files and the description.
Further help
Further guidance on Working with files is available from Modole Dcos.
If you find any inaccurate or missing information you can even update this yourself (it's a communal wiki).
If you have a specific question about the tool please contact the Digital Education team.
Caution
None at this time.
Examples and case studies
None at this time.
Questions & Answers
Further information
None at this time.
This information is provided by Digital Education
( https://www.ucl.ac.uk/isd/digital-education-team-information ) and licensed under a Creative Commons Attribution-ShareAlike 4.0 International License
